As a homeowner or woodworker, you understand the importance of maintaining the natural beauty of western red cedar. Over time, however, cedar wood can turn gray due to exposure to the elements. This change in color can be undesirable, as it alters the wood’s original appearance.
I will explore the causes of this discoloration and discuss various methods to prevent it, ensuring that your cedar wood projects remain vibrant and attractive.
By understanding the factors that contribute to cedar graying, you can take proactive steps to preserve the natural color of your cedar wood.
Key Takeaways
- Understanding the causes of cedar discoloration
- Methods to prevent cedar from turning gray
- The importance of maintaining cedar’s natural beauty
- Tips for preserving western red cedar color
- Effective ways to protect your cedar wood projects
Understanding Cedar Wood and Its Natural Beauty
The natural beauty of cedar wood lies in its unique characteristics, which set it apart from other types of wood. Cedar wood is not only aesthetically pleasing, but it also boasts impressive durability and resistance to rot and insects.
The Unique Characteristics of Cedar Wood
Cedar wood is known for its distinctive aroma and natural resistance to decay. The unique characteristics of cedar wood make it an ideal choice for outdoor construction projects, such as decks, fences, and siding. Its natural oils act as a preservative, protecting it from damage caused by insects and rot.
Natural Colors of Western Red Cedar and Other Varieties
Western red cedar is particularly prized for its stunning color, which ranges from a light straw color to a deep reddish-brown hue. Other varieties of cedar wood also display a range of natural colors, from a cedar tone to a weathered gray. The natural color of cedar wood can vary depending on the specific variety and growing conditions.
Why Cedar Is a Popular Choice for Outdoor Projects
Cedar wood’s inherent beauty and durability make it a popular choice for outdoor projects. Its natural resistance to rot and insects, combined with its attractive appearance, make it an ideal material for constructing decks, fences, and other outdoor structures. Additionally, cedar wood can be left to weather naturally or can be treated with a clear sealant to maintain its original color.
The Cedar Graying Process: Why and How It Happens
The process of cedar graying is a complex interplay of environmental factors and the wood’s inherent characteristics. As cedar wood is exposed to the elements, it undergoes a series of changes that ultimately lead to its signature gray hue.
The Science Behind Wood Weathering
Wood weathering is a natural process driven by the interaction of wood with its environment. Cedar wood, in particular, contains oils and resins that affect how it weathers. When exposed to sunlight, rain, and temperature fluctuations, the wood’s surface undergoes degradation, leading to the loss of its original color and the eventual graying.
Environmental Factors That Accelerate Graying
Several environmental factors accelerate the graying of cedar wood. These include:
- UV radiation from sunlight, which breaks down the wood’s cellular structure
- Rain and moisture, which cause the wood to swell and shrink, leading to cracks and checks
- Temperature fluctuations, which further contribute to the wood’s degradation
How Long It Takes for Cedar to Turn Gray
The timeframe for cedar to turn gray varies depending on environmental conditions. Generally, cedar wood begins to show signs of graying within 6 to 12 months of exposure to the elements. However, this timeframe can be significantly shorter or longer depending on factors such as the intensity of sunlight, rainfall, and temperature.
| Environmental Condition | Effect on Graying | Timeframe to Noticeable Graying |
|---|---|---|
| High UV Exposure | Accelerated graying | 3-6 months |
| Moderate Climate | Moderate graying | 6-12 months |
| Low UV Exposure (shaded areas) | Slower graying | 1-2 years |
Understanding these factors can help you plan for the maintenance and upkeep of your cedar wood projects, ensuring they remain beautiful and durable for years to come.
Essential Preparation Steps Before Treating Cedar
Before applying any treatment to cedar wood, it’s crucial to prepare the surface properly. This initial step ensures that the treatment is effective and that the cedar wood remains in good condition for a long time.
Cleaning New Cedar Before Application
New cedar wood often comes with a layer of dirt or debris that can interfere with the treatment process. Cleaning the cedar involves gently scrubbing the surface with a soft-bristled brush and a mild detergent mixed with water. This helps remove any impurities without damaging the wood.
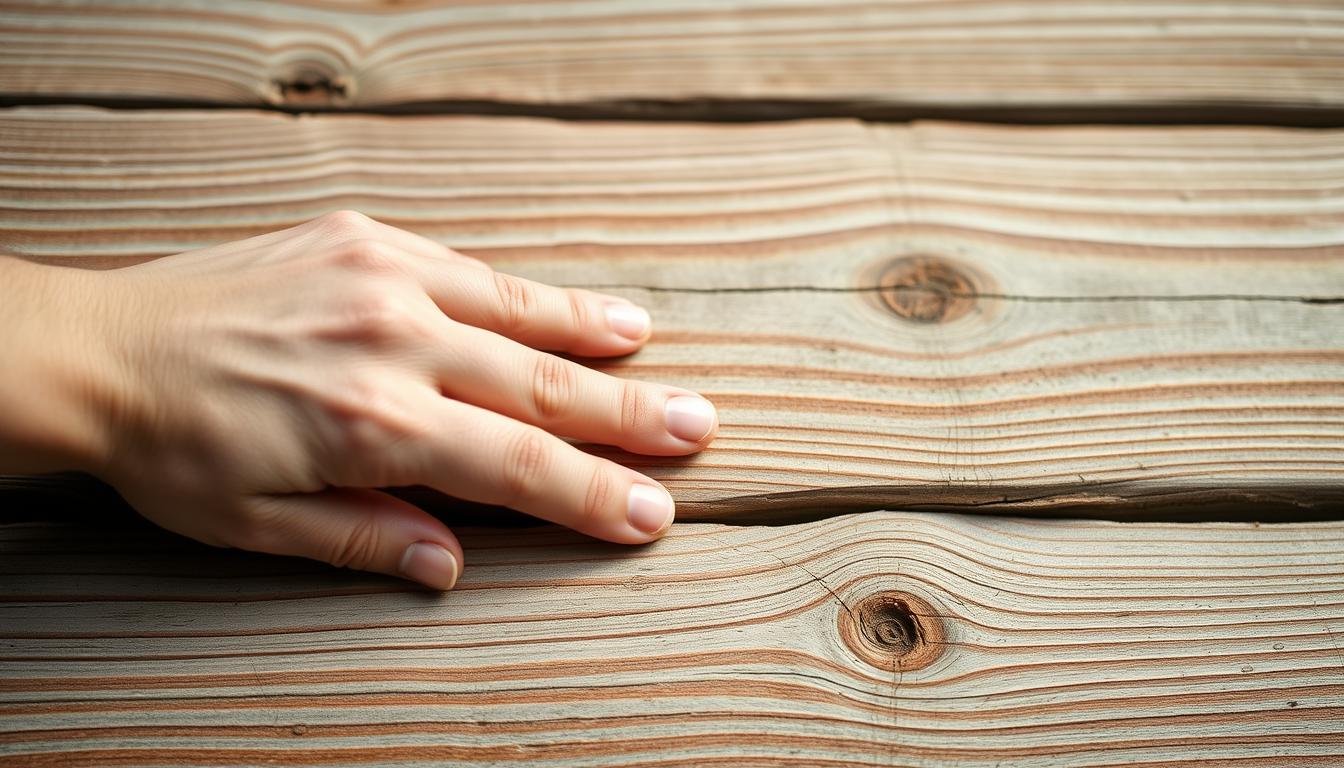
Preparing Already Weathered Cedar
If you’re dealing with cedar wood that has already weathered, the preparation process is slightly different. You’ll need to assess the condition of the wood to determine the best course of action. This might involve sanding down the surface to remove any graying or splintered areas, followed by a thorough cleaning.
Tools and Materials You’ll Need
To prepare your cedar wood for treatment, you’ll need a few essential tools and materials. These include a soft-bristled brush, mild detergent, water, and possibly sandpaper for weathered cedar. Having the right tools on hand will make the preparation process smoother and more effective.
By following these preparation steps, you can ensure that your cedar wood is properly prepared for treatment, enhancing its durability and preserving its natural beauty.
Top Sealants and Clear Coats to Prevent Cedar Graying
To maintain the natural beauty of cedar wood, it’s essential to choose the right sealant or clear coat. Cedar wood is a popular choice for outdoor projects due to its natural beauty and durability, but it can turn gray over time if not properly protected.
Water-Based vs. Oil-Based Clear Sealants
When it comes to clear sealants, there are two main types: water-based and oil-based. Water-based clear sealants are easier to clean up and dry faster, but they may not provide the same level of protection as oil-based sealants. Oil-based clear sealants, on the other hand, offer superior durability and moisture resistance, but they take longer to dry and have stronger fumes.
I recommend considering the specific needs of your cedar project when choosing between water-based and oil-based clear sealants. For example, if you’re working on a cedar fence, an oil-based clear cedar fence sealer might be the better choice due to its enhanced durability.
Best Clear Coats That Preserve Natural Cedar Color
Some of the best clear coats for preserving the natural color of cedar wood include those that are specifically designed for outdoor use and contain UV protectants. These clear coats not only protect the cedar from the elements but also help maintain its original color.
When selecting a best clear coat for cedar, look for products that are formulated for use on cedar and contain ingredients that help preserve the wood’s natural color. Some popular options include clear coats with natural oils and waxes that help to nourish the wood.
Application Techniques for Optimal Protection
The application technique can significantly impact the effectiveness of the clear sealant or coat. Proper application ensures that the cedar wood is fully protected from the elements.
Brush Application Methods
When using a brush to apply a clear sealant or coat, make sure to work in the direction of the wood grain. This helps to ensure an even application and prevents the sealant from pooling on the surface.
Spray Application Tips
If you’re using a spray application, maintain a consistent distance from the surface and use a steady, back-and-forth motion to achieve an even coat. Be sure to follow the manufacturer’s instructions for the recommended spray pattern and pressure.
Sealing cedar wood is a crucial step in maintaining its natural beauty and protecting it from the elements. By choosing the right clear sealant or coat and following proper application techniques, you can enjoy your cedar project for years to come.
| Clear Sealant Type | Drying Time | Durability |
|---|---|---|
| Water-Based | 2-4 hours | Moderate |
| Oil-Based | 4-6 hours | High |
“The right clear coat can make all the difference in preserving the natural beauty of cedar wood.”
Staining Options to Enhance and Protect Cedar Wood
When it comes to preserving the natural beauty of cedar wood, staining is a crucial step that not only enhances its appearance but also provides protection against the elements. Cedar wood is renowned for its durability and aesthetic appeal, making it a popular choice for outdoor projects.
Transparent vs. Semi-Transparent vs. Solid Stains
Stains come in various types, each offering different levels of protection and color intensity. Transparent stains allow the natural texture and color of the cedar to show through while providing minimal protection. Semi-transparent stains offer a balance, enhancing the color while still allowing some of the natural grain to be visible. Solid stains, on the other hand, completely cover the wood’s natural color, providing the most protection but potentially obscuring the wood’s natural beauty.
Popular Cedar-Complementing Colors
Choosing the right color for your cedar wood project is crucial. Fruitwood stain and cedar tone are popular choices as they complement the natural color of cedar, enhancing its warm tones. These stains not only beautify the wood but also offer protection against weathering.
How Different Stains Affect Cedar’s Appearance and Protection
The type of stain used significantly affects both the appearance and the level of protection cedar wood receives. For instance, using a cedar grey stain can give the wood a weathered look, while a fruitwood stain maintains its natural warmth. It’s essential to consider the desired appearance and the level of protection needed when selecting a stain.
Color Matching with Existing Wood Elements
When staining cedar wood, it’s also important to consider the color of existing wood elements to ensure a cohesive look. Gray stained cedar can be used to create a uniform appearance with other weathered wood elements. Matching the stain to the existing elements can enhance the overall aesthetic of the project.
Natural Oils and Traditional Methods for Cedar Preservation
For those looking to maintain the natural beauty of cedar without resorting to chemical treatments, natural oils offer a promising solution. Cedar wood, known for its durability and resistance to rot, can be further protected and enhanced using traditional preservation methods.
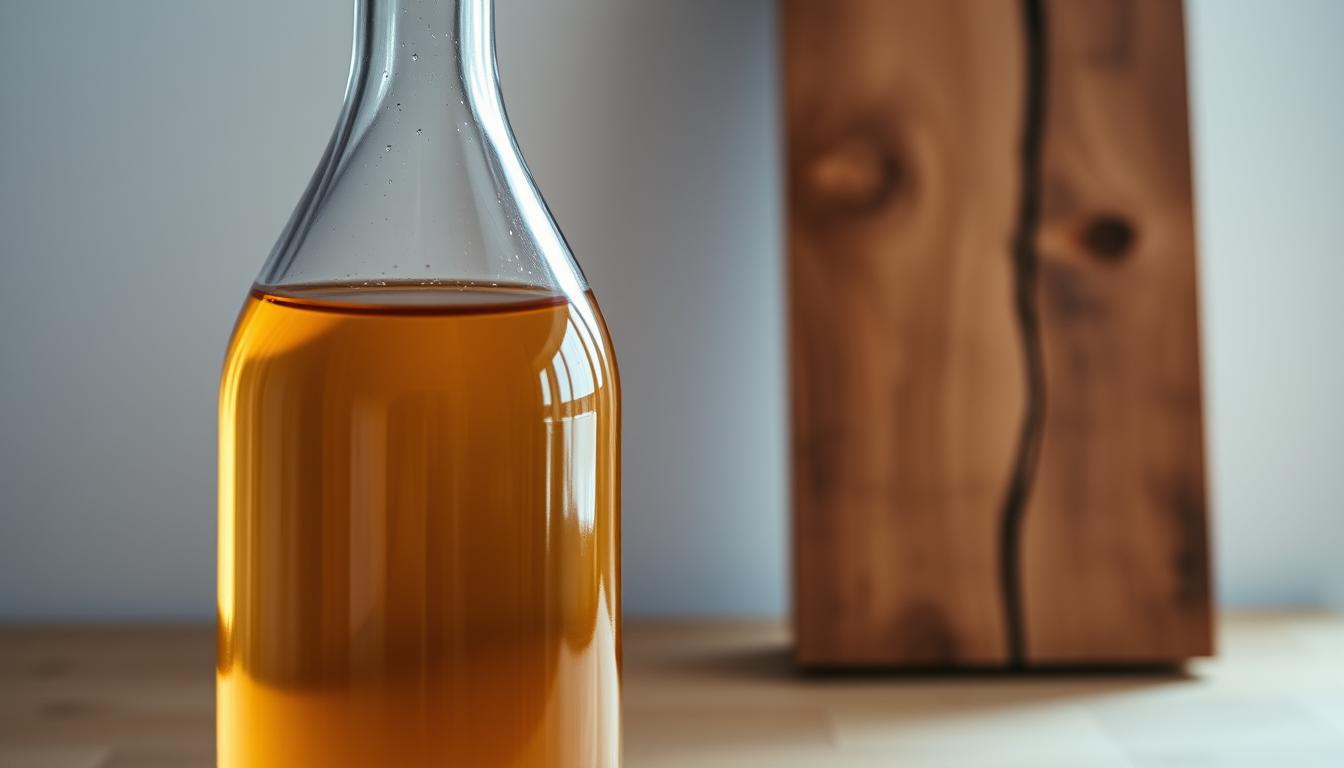
Linseed Oil, Tung Oil, and Other Natural Options
Linseed oil and tung oil are two popular natural oils used for cedar preservation. Linseed oil, derived from flaxseeds, is known for its ability to penetrate deep into the wood, providing long-lasting protection. Tung oil, on the other hand, forms a hard, water-resistant finish that protects cedar from moisture and UV damage.
Other natural options include beeswax and carnauba wax, which can be used in combination with linseed or tung oil to enhance their protective qualities.
DIY Cedar Preservative Recipes
Creating your own cedar preservative using natural ingredients can be a cost-effective and rewarding approach. A simple recipe involves mixing linseed oil with beeswax and turpentine. This blend not only protects the cedar but also brings out its natural color.
To make this mixture, combine 2 parts linseed oil with 1 part beeswax and a small amount of turpentine. Heat the mixture gently until the beeswax is fully dissolved, then apply it to the cedar wood using a clean cloth.
Application and Reapplication Schedules
The effectiveness of natural oils in preserving cedar depends on regular application and reapplication. Initially, apply the oil or preservative mixture generously to the cedar wood, allowing it to dry completely before exposing it to the elements.
Reapplication is necessary every 6 to 12 months, depending on the exposure of the cedar to weather conditions. Regular maintenance not only preserves the cedar but also maintains its natural beauty over time.
Maintenance Practices to Keep Cedar from Turning Gray
To maintain the natural beauty of cedar wood, regular maintenance is crucial. This involves a combination of proper cleaning, applying the right sealants or stains, and performing seasonal checks to ensure the wood remains in good condition.
Recommended Cleaning and Reapplication Schedule
Cleaning cedar wood regularly is essential to remove dirt and debris that can accelerate graying. I recommend cleaning the cedar surface at least once a year with a mild detergent and water solution. After cleaning, reapply a clear sealant or stain as needed to protect the wood.
“Regular maintenance is key to preserving the beauty of cedar wood,” says a renowned wood preservation expert. “By following a simple cleaning and reapplication schedule, homeowners can keep their cedar wood looking its best for years to come.”
Seasonal Care Tips for Different Climates
Different climates require different care approaches. In areas with high rainfall, more frequent cleaning and reapplication of sealants may be necessary. In dry climates, cedar wood may require less frequent maintenance, but it’s still important to inspect the wood regularly for signs of wear.
Signs That Your Cedar Needs Attention
Keep an eye out for signs that your cedar wood needs maintenance, such as discoloration, warping, or cracking. If you notice any of these issues, address them promptly to prevent further damage.
Preventative Maintenance Checklist
- Inspect cedar wood surfaces annually for signs of wear
- Clean cedar wood with a mild detergent and water solution
- Reapply clear sealant or stain as needed
- Check for damage or warping in extreme weather conditions
By following this checklist and staying on top of maintenance, you can keep your cedar wood looking its best and prevent it from turning gray.
Restoring Already Grayed Cedar to Its Original Beauty
Reviving the natural color of weathered cedar is achievable through proper cleaning, sanding, and applying the right finishes. Over time, cedar wood can lose its original luster due to exposure to the elements, but with the right techniques, you can restore it to its former beauty.
Cleaning and Brightening Products for Weathered Cedar
To start the restoration process, you’ll need to clean the weathered cedar. There are various cleaning products available that are specifically designed for cedar wood. These products help remove dirt, grime, and mildew that may have accumulated on the surface.
Sanding and Restoration Techniques
Sanding is a crucial step in restoring cedar wood. It helps smooth out the surface and removes any remaining dirt or old finishes. For sanding, use a fine-grit sandpaper to avoid damaging the wood.
Best Wood Fillers for Damaged Cedar
If your cedar wood has damaged or rotten areas, you’ll need to use a wood filler to repair it. Choose a filler that is compatible with cedar and follows the manufacturer’s instructions for application.
Step-by-Step Restoration Process
Here’s a simple step-by-step guide to restoring grayed cedar:
- Clean the cedar surface with a suitable cleaning product.
- Sand the wood to smooth out the surface.
- Apply a wood filler to any damaged areas.
- Once dry, sand the filled areas to a smooth finish.
- Apply a clear sealant or stain to protect and enhance the cedar.
| Restoration Step | Purpose | Recommended Product |
|---|---|---|
| Cleaning | Remove dirt and grime | Cedar cleaning solution |
| Sanding | Smooth out the surface | Fine-grit sandpaper |
| Wood Filling | Repair damaged areas | Cedar-compatible wood filler |
Conclusion: Preserving Cedar’s Natural Beauty for Years to Come
Maintaining the natural beauty of cedar wood is crucial for outdoor projects. By understanding the cedar graying process and taking proactive steps, you can enjoy your cedar wood for years to come. Whether you choose to apply sealants, stains, or natural oils, the key is to protect the wood from environmental factors that accelerate graying.
Preserving cedar requires regular maintenance, including cleaning and reapplying protective coatings as needed. By following the techniques outlined in this article, you can maintain the beauty and integrity of your cedar wood projects. Cedar preservation is not just about aesthetics; it’s also about ensuring the durability and longevity of the wood.
In conclusion, maintaining cedar beauty is a straightforward process that requires some knowledge and effort. By choosing the right products and techniques, you can preserve the natural color and texture of your cedar wood, enhancing its overall appearance and extending its lifespan.
FAQ
What is the natural color of Western Red Cedar?
Western Red Cedar has a distinctive reddish-brown color, which can vary in intensity depending on the specific variety and growing conditions.
How long does it take for cedar to turn gray?
The time it takes for cedar to turn gray depends on various environmental factors, including exposure to sunlight, rain, and temperature fluctuations. Generally, it can take anywhere from a few months to a few years for cedar to gray.
What is the best clear coat for cedar wood?
The best clear coat for cedar wood depends on the specific needs and preferences. Water-based and oil-based clear sealants are both effective options, and the choice between them depends on factors such as durability, UV protection, and ease of application.
Can I stain cedar wood to enhance its color?
Yes, cedar wood can be stained to enhance its color. Transparent, semi-transparent, and solid stains are available, and the choice of stain depends on the desired appearance and level of protection.
How do I protect cedar wood from the elements?
To protect cedar wood from the elements, apply a clear sealant or stain, and maintain the wood regularly by cleaning and reapplying the finish as needed.
What is the best wood filler for damaged cedar?
The best wood filler for damaged cedar depends on the specific needs and preferences. Look for a wood filler that is compatible with cedar and suitable for outdoor use.
Can I use natural oils to preserve cedar wood?
Yes, natural oils such as linseed oil and tung oil can be used to preserve cedar wood. These oils can help to protect the wood from moisture and UV damage.
How often should I maintain my cedar wood project?
The frequency of maintenance depends on the specific conditions and the type of finish applied. Generally, it’s recommended to inspect and maintain cedar wood projects annually or as needed.